We OFFICIALLY started our reading centers this week. My kiddo's had been doing reading centers but at their tables with a group of 4. Now that we are officially on our way to reading (I have taught all single letter phonograms and majority of my kiddo's are onto cvc words) we also had to be on our way to independent reading centers.
I broke my kiddo's up into groups of 2 or 3 that involved partners of different reading levels (one high, one low and one medium if need be). I then have a SmartBoard screen (sorry I forgot to take a shot of it on our school computers since my home computer does not have Smart-Notebook) that has the kiddo's names/grouping and a picture of the two centers they will be going to (each lasting about 8-12 minutes). That way they know where they are going to go 1st and 2nd. They go to all the stations before we rotate through them again. Right now there are 8 different centers.
I put a lot of my centers in cute bags:

That way my kiddo's just grab their bag and find a spot in the classroom to do the activity. It makes for easy clean up and the ability for me to switch out centers easily.
(I found all the bags in the dollar section of Target last spring.)
Here are the centers my kiddo's are working on currently:
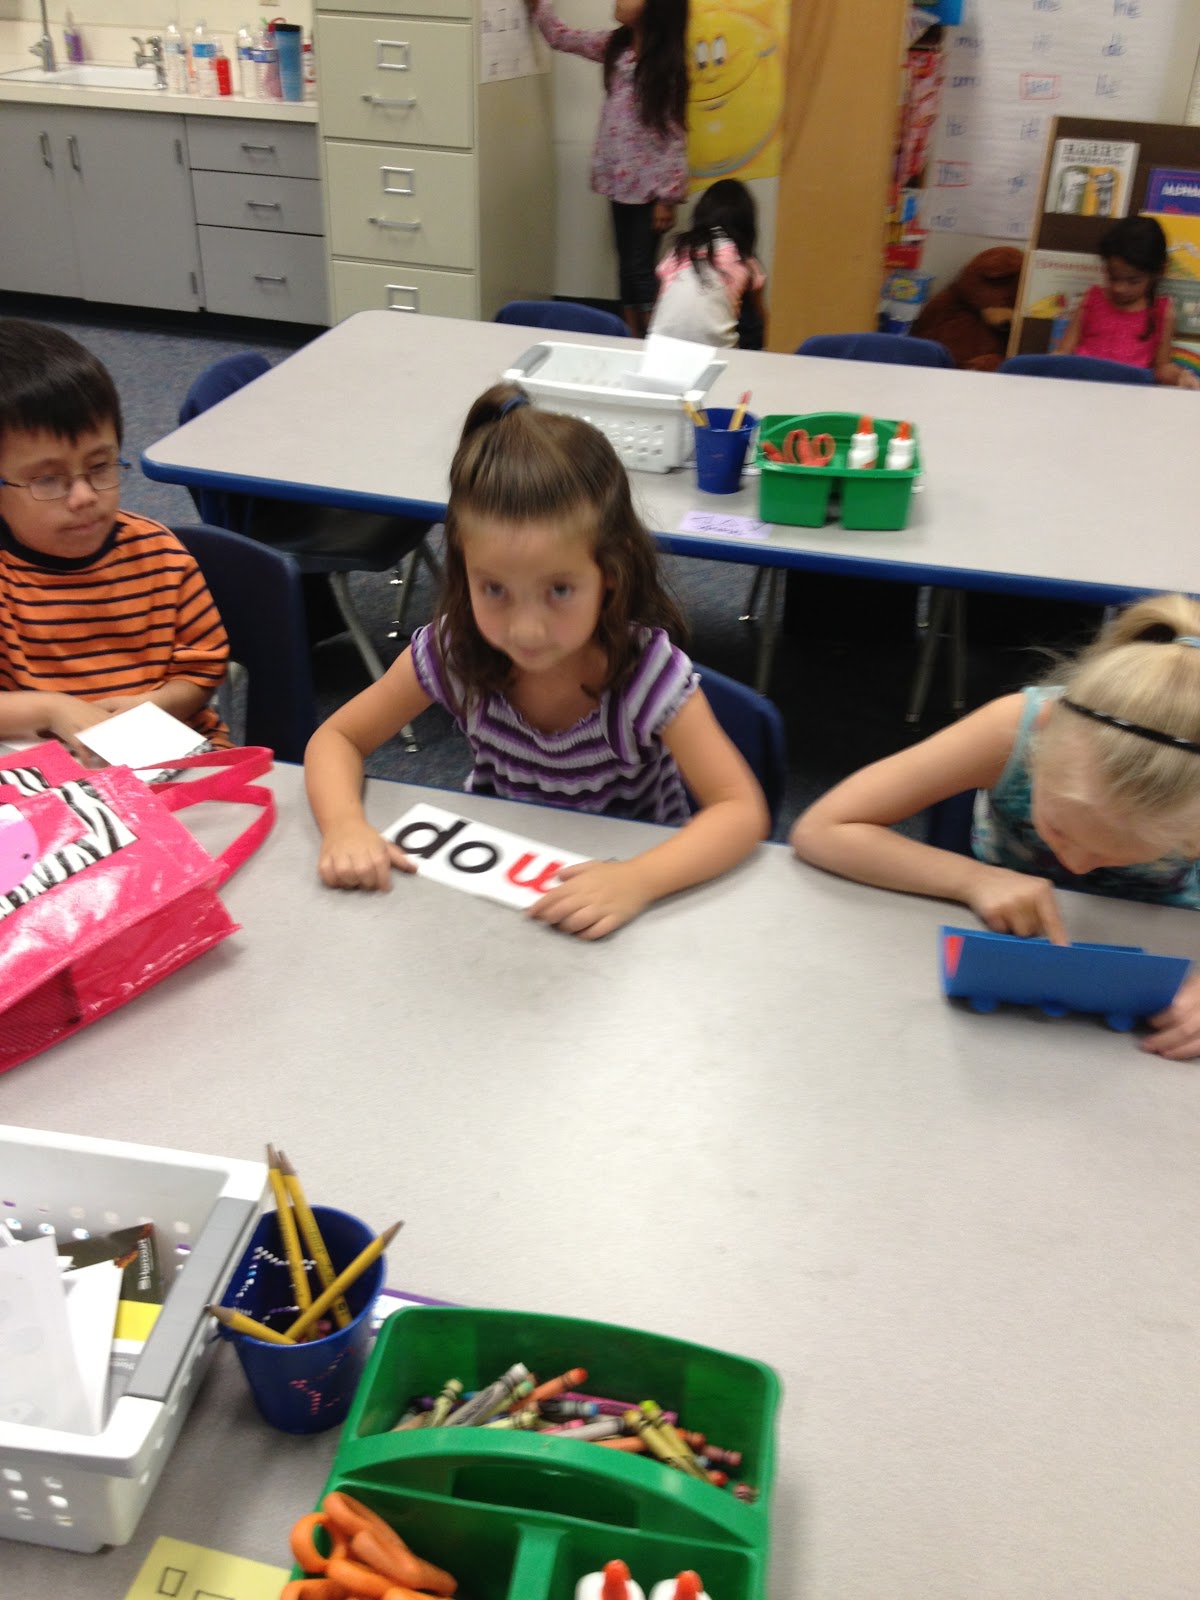
Magnet Board


At this center the kiddo's make the sight words we have been working on. When they make the sight words with their magnet letters they have to say the word to their partner.
Letter Matching/ Phonogram Sounds


At this center the kiddo's have to match the capitals on the clothes pins to the lower case on the sentence strips. When they find a match they have to say the phonogram(s) sound to their partner.
Reading

At this center they can read together or independently books we have previously read during story time. (My kiddo's LOVE to re-read stories I have read to them.)
Sight Words


At this center the kiddo's each get their own "sight word quilt" and with markers they can write any of the sight words from the sight word wall. Once they have filled out their whole sheet they can go back with crayons and color the words as they read them.
Bookworm


At this center they keep the "worms" in the the bag. The kiddo's take turns pulling out a worm and saying the phonogram sound. If they say it correctly they keep the worm and if not they put it back in the bag. If they get a worm that says "Book Worm!" they have to put all their worms back in.
CVC Words


At this center the kiddo's can read CVC words together or independently. The beginning sound can be changed to make a new word or the blue books have the ability to change any of the 3 sounds (I tell them how some words are nonsense and we just blend the phonograms to see if the word is real or not).
Listening Center


The kiddo's listen to a book on tape (as simple as it comes!).
Memory


At this center the kiddos turn the dinosaurs onto their white sides. Then they take turns flipping 2 dinosaurs over and reading the sight words that are on them. If they match they keep them and if not they turn them back over for the other player.
As you can see my kiddos are really focusing on the skills of phonogram sounds, sight words, cvc words, and reading familiar stories.
Happy Teaching!


